
Select Stop to end the
split
timer
.
If you split the time more than once, the new measured time appears at the
beginning of the list. You can scroll to see previous measured times.
Lap time
You can use the lap time function when you want to track how long it takes to
complete each cycle or lap.
1
Select Menu > Extras > Stopwatch > Lap timing > Start.
2
If you want to take a lap time, select Lap.
The clock stops, then starts immediately from zero. The lap time appears below
the running time. If you take more than one lap time, the new measured time
appears at the beginning of the list. You can scroll to see previous measured times.
3
Select Stop to end the
lap timer
and to display the total time at the top of
the screen.

104
Copyright © 2004 Nokia
Save times
1
While the timer is running, select Stop > Options > Save.
2
Enter a name for the measurement and select OK.
If you do not enter a name, the total time is used as the default title for the
lap time.
View times
You can view saved times, which are listed in the order they were saved.
Select Menu > Extras > Stopwatch > View times and the time you want to view.
Delete times
You can delete times from the stop watch memory. You can delete times one at
time or delete all the times at once.
ALL
Select Menu > Extras > Stopwatch > Delete times > Delete all > OK.
ONE BY ONE
1
Select Menu > Extras > Stopwatch > Delete times > One by one.
2
Select the time you want to delete and Delete > OK.
OR
1
Select Menu > Extras > Stopwatch > View times.
2
Select the time you want to delete and Options > Delete times > OK.
Stopwatch options
You can select the following options when using the stopwatch:
Start—Allows you to start timing again after the timing has stopped. If the maximum
amount of laps has been saved, this option is not available.
Save—Allows you to save and name the last measured time. If the stopwatch
memory is full, you will be prompted to delete saved times.
Reset—Allows you to reset the stopwatch.
Note about stopwatch operation
Using the stopwatch or allowing it to run in the background when using other
features increases the demand on battery power and reduces the battery life.
If you press the End key and return to the start screen, the clock continues to run
in the background.
To return to the Stopwatch function, select Menu > Extras > Stopwatch > Continue.
Nokia 3595 User Guide
105
Copyright © 2004 Nokia
Your personal digital assistant
• SYNCHRONIZE CONTACTS AND CALENDAR
Your phone has the ability to synchronize the Contacts and Calendar data with
remote devices. Using the synchronization feature (SyncML), data such as names,
numbers, and e-mail addresses stored in your contact list, or day notes and reminders
from the calendar can be exchanged with other devices through a synchronization
service provider. After synchronization, the data in the phone will be the same as
the data contained in the host database.
Before you begin
Before you can begin to use SyncML, you must verify your service provider offers this
feature. If your service provider does offer SyncML, you must set up an account with
a SyncML service provider. For more information about signing up for synchronization
services, contact your wireless service provider.
Automatic configuration
Your wireless service provider can automatically configure your phone with the
correct synchronization settings by using SMS. This can only take place while your
phone is in idle mode. Contact your service provider for more information.
Even though it is highly recommended that your service provider configure the correct
synchronization settings for you, it is helpful for you to know the meaning of the
settings. To view the synchronization settings, select Menu > Connectivity >
Synchronize > Settings > Active Internet sync. settings or Custom. active
Internet sync. and one of the following options:
Active Internet sync. settings—Allows you to select which synchronization set to
activate. You have the option of renaming the set. There are four sets available.
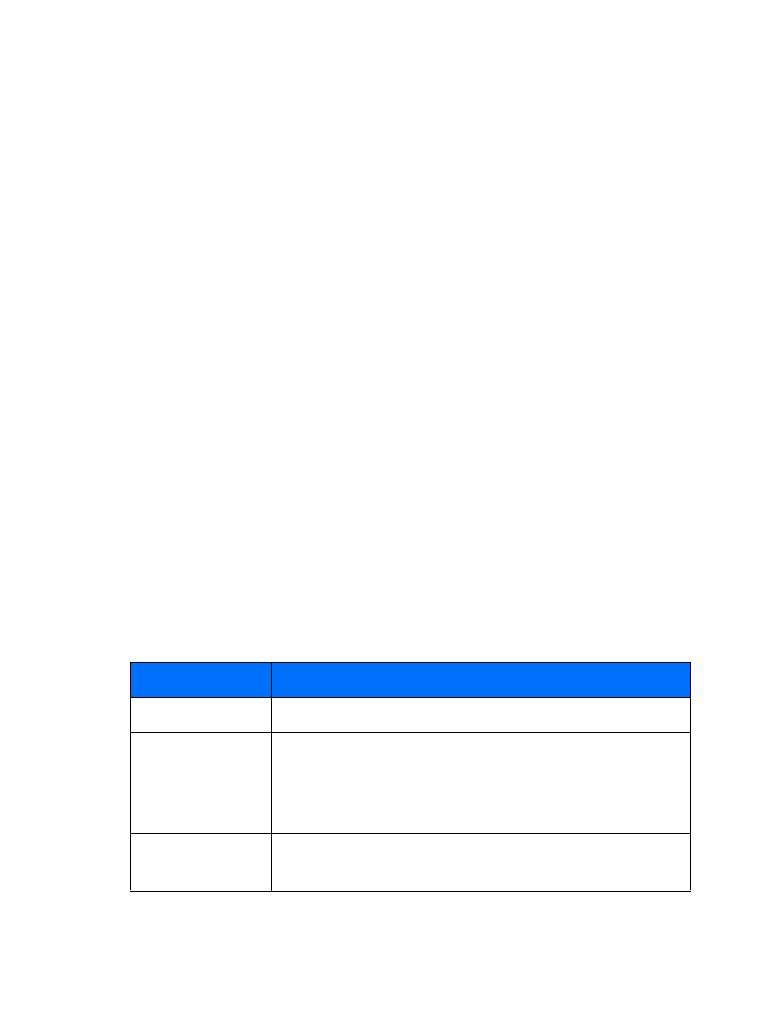
Custom. active Internet sync. settings—Allows you to customize the active
synchronization set from a set of options, which are shown in the following table:
Choice
What it does
Settings’ name
Allows the synchronization set to be renamed.
Data to be
synchronized